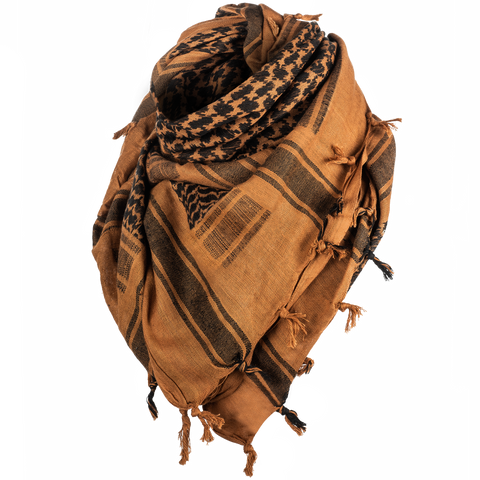
Back to Basics: Learn Essential Camping Tarp Layouts for Bushcraft Adventures

Camping tarps are a versatile and essential piece of gear for any bushcraft enthusiast. They provide shelter from the elements, and their lightweight and compact design make them ideal for backpacking trips. There are many different tarp layouts to choose from, each with its unique benefits and drawbacks. In this blog, we'll explore some of the most popular camping tarp layouts for bushcraft and discuss the situations in which they are most effective.

1. The Basic A-Frame Layout
The A-Frame tarp is the most basic and straightforward tarp layout. It's easy to set up, and the triangular shape provides excellent protection from the wind and rain. The A-Frame tarp is ideal for use in areas with high winds or rain, as the sloping sides of the tarp will help to direct the wind and water away from your campsite.
To set up an A-Frame tarp, you'll need two trees or poles to tie the ridgeline to. Then, stake out the corners of the tarp to create a triangular shape. You can adjust the height of the ridgeline to control the amount of ventilation and the amount of protection from the elements.

2. Basic Lean-To Layout
The Lean-To tarp is another popular tarp layout for bushcraft. It's ideal for creating a quick and easy shelter in areas with moderate winds and rain. The Lean-To tarp is also great for using as a windbreak or as a shelter for a cooking area.
To set up a Lean-To tarp, you'll need to tie the ridgeline to a tree or pole and stake out the corners of the tarp. The tarp should be angled downward, with one end low to the ground and the other end high, creating a sloping shelter.

3. Hammock / Rainfly Layout
The Hammock / Rainfly Layout is a popular setup for hammock shelters as it provides excellent protection from rain and wind. Because the hammock is suspended, there's no need for a floor.
To set up the Diamond tarp, you'll need to find two trees that are the right distance apart. Tie the hammock and guy rope around the trees, ensuring there's enough distance between the tarp and hammock. Next, fold the tarp in a diamond shape so that two corners are pointing to the ground. Secure each corner to the ground using two guy lines and stakes.

4. C-Fly Wedge Layout
The C-Fly wedge tarp layout is a type of tarp setup commonly used in bushcraft and camping. It's named for its shape, which resembles the letter "C" or a bird's wing.
To set up a C-Fly wedge tarp, you'll need to find two trees that are the right distance apart for your tarp. Tie a ridgeline between the two trees, and drape the tarp over the ridgeline so that the tarp creates a wedge shape, with one end of the tarp on the ground and the other end suspended by the ridgeline.
Next, stake down the corners of the tarp that are on the ground, and use guylines and stakes to pull out the corners of the suspended end of the tarp, creating a taut shelter. The C-Fly wedge tarp layout provides excellent protection from wind and rain, and is a versatile and effective shelter option for camping and bushcraft.

5. Body Bag Layout
The Body Bag Survival Tarp Layout is a type of tarp shelter that can provide excellent protection in extreme weather conditions. As the name suggests, this layout is designed to create a shelter that resembles a body bag or cocoon.
To set up a Body Bag Survival Tarp, fold a rectangular tarp in half lengthwise and tie a rope around it to create a loop for suspension. Then stake down the corners and use guylines and stakes to pull out the remaining corners for a taut shelter with an entrance at one end.

6. Flat Roof Lean to Layout
The Flat Roof Lean-To Survival Tarp Layout is a versatile shelter option that can be easily modified to suit your needs. For example, you can adjust the height of the ridgeline and the angle of the tarp to create a steeper or shallower shelter, depending on the weather conditions.

7. Dining Fly Layout
The Dining Fly Survival Tarp Layout is a versatile shelter option that provides protection from the elements and can be used as a cooking or dining area in a campsite. It is commonly used in camping and survival situations.
To set up a Dining Fly Survival Tarp, tie one end of a large rectangular tarp to a tree and run it to another at a comfortable height for sitting or standing. Drape the tarp over the ridgeline and use guy lines to stake out the four corners, creating a sloping roof for rainwater runoff.
Mastering different camping tarp layouts is an essential skill for any bushcraft enthusiast, offering adaptability and versatility in outdoor settings. Being able to set up a shelter using different techniques and configurations provides the ability to protect yourself from the elements and keep yourself safe in a variety of situations. By learning and practicing different bushcraft skills, you'll be better equipped to handle any challenges that come your way during a camping trip.

About Our Company
At Texas Bushcraft, we are a small family-owned business founded in 2018 in Austin, Texas. We were motivated to share our love for the outdoors and inspire others to enjoy nature without the need for big, fancy gadgetry. Our mission is to preserve traditional bushcraft skills and support our customers on their path to self-reliance. We offer simple, elegant outdoor gear and educational resources to help you prepare to thrive in the great outdoors. Thank you for choosing Texas Bushcraft as your guide.